

Почніть з оформлення візи та медичного страхування перед від'їздом, щоб уникнути проблем в останню хвилину.
Швидко приймайте рішення щодо місця проживання, способу пересування та з ким зв'язатися у разі хвороби, незалежно від того, чи ви самотній мандрівник, чи подорожуєте з іншими, узгоджуючи це з вашою датою, потребами та маршрутом.
Якщо ви турист, який приїжджає на короткий термін, враховуйте варіанти репатріації та візові правила, а також зберіть надійні місцеві ресурси; цей важливий план допоможе вам впоратися з усім, навіть коли плани змінюються.
Питання про документацію, безпеку та практичні кроки часто виникають у російськомовної аудиторії; це дійсно допомагає, тому задокументуйте контактні дані та поділіться копією свого плану з довіреною особою, щоб зменшити ризик.
Для початку, реєструйте прогрес за датою; тримайте все організованим, щоб рішення залишалися своєчасними, а шляхи для репатріації залишалися відкритими.
I Have a Question: Russiable Community Q&A
Зверніться до лікаря, як тільки ознаки хвороби не зникають протягом 48 годин; іноді симптоми розвиваються і потребують іншого шляху лікування. Ніщо не замінить безпосередньої медичної оцінки. Якщо ймовірна госпіталізація, візьміть з собою медичну документацію та короткий опис ліків.
- Оцініть випадок, зафіксувавши основні факти: симптоми, дату початку, відомі випадки зараження та номінативні мітки для файлу; використовуйте просту структуру полів для узгодження даних у різних полях.
- Для подорожей між країнами перевіряйте поточні вимоги для в'їзду, необхідні тести та місцеві сторінки охорони здоров'я; оновлюйте свій план у міру оновлення сторінок та затвердження органами влади.
- Підготуйте документацію для надання іноземному медичному закладу: форми згоди, деталі страхування та стислий анамнез; документація гарантує, що її буде прийнято приймаючою командою.
- Візьміть участь у форумі, панелі або груповій темі, щоб зібрати правдивий досвід; деякі учасники пропонують практичні перевірки, але перевіряйте їх з офіційними джерелами, перш ніж діяти.
- Деякі випадки можуть потребувати госпіталізації або направлення; зберігайте список екстрених контактів та узгоджений з вашим основним лікарем або страховиком план дій.
- Перегляньте, як план узгоджується з вашими цілями; переконайтеся, що дані, які ви збираєте, відповідають нормам конфіденційності та вимогам згоди; регулярно оновлюйте план і звертайтеся за затвердженням, коли це необхідно.
Біометрія та процедури запису на прийом
Забронюйте онлайн зараз, щоб зарезервувати час для вашого біометричного прийому та підтвердити час з головним відділом, щоб уникнути затримок. Заздалегідь підготуйте вихідні документи – паспорт, підтвердження запису та будь-які повідомлення від органу влади – щоб пришвидшити реєстрацію та переконатися, що ви отримали правильне написання імені в записах.
Після прибуття дотримуйтесь вказівок до коридору та пройдіть до стійки біометрії. Співробітник опише кроки, які включають фотографування та тестування відбитків пальців, і підтвердить ваш час та вікна в основний період обробки. Це момент, щоб перевірити, чи збігається ваше ім'я з проїзними або юридичними документами.
Необхідні документи включають паспорт, свідоцтво про народження, якщо це можливо, та підтвердження запису. Якщо залучена дитина або утриманці, батько або опікун повинні супроводжувати та надати згоду. У деяких випадках лікар може перевірити відповідність вимогам, пов'язаним зі здоров'ям; зверніться до органу влади, якщо це стосується вашої справи.
Під час візиту ви отримаєте квитанцію та контрольний номер. На стійці або на порталі буде описано способи оплати, включаючи прийняті методи (картка або готівка) та поточний тариф. Якщо додаються будь-які тести або перевірки, відділ чітко назве їх, перш ніж ви продовжите, і ви повинні підтвердити всі пункти, перш ніж покинути вікно.
Корисні поради: туристи повинні перевірити, чи центр приймає іноземні паспорти та чи потрібні додаткові перевірки. Завжди переконайтеся, що у вас є необхідні вихідні документи, і прочитайте інструкції, розміщені відділом, щодо часу та вікон, щоб уникнути змін в останню хвилину. Цей підхід зменшує кількість рішень пізніше та забезпечує безперебійний рух вашої справи. Ці слова – вихідні дані, вікна, платежі – з'являються в офіційному посібнику.
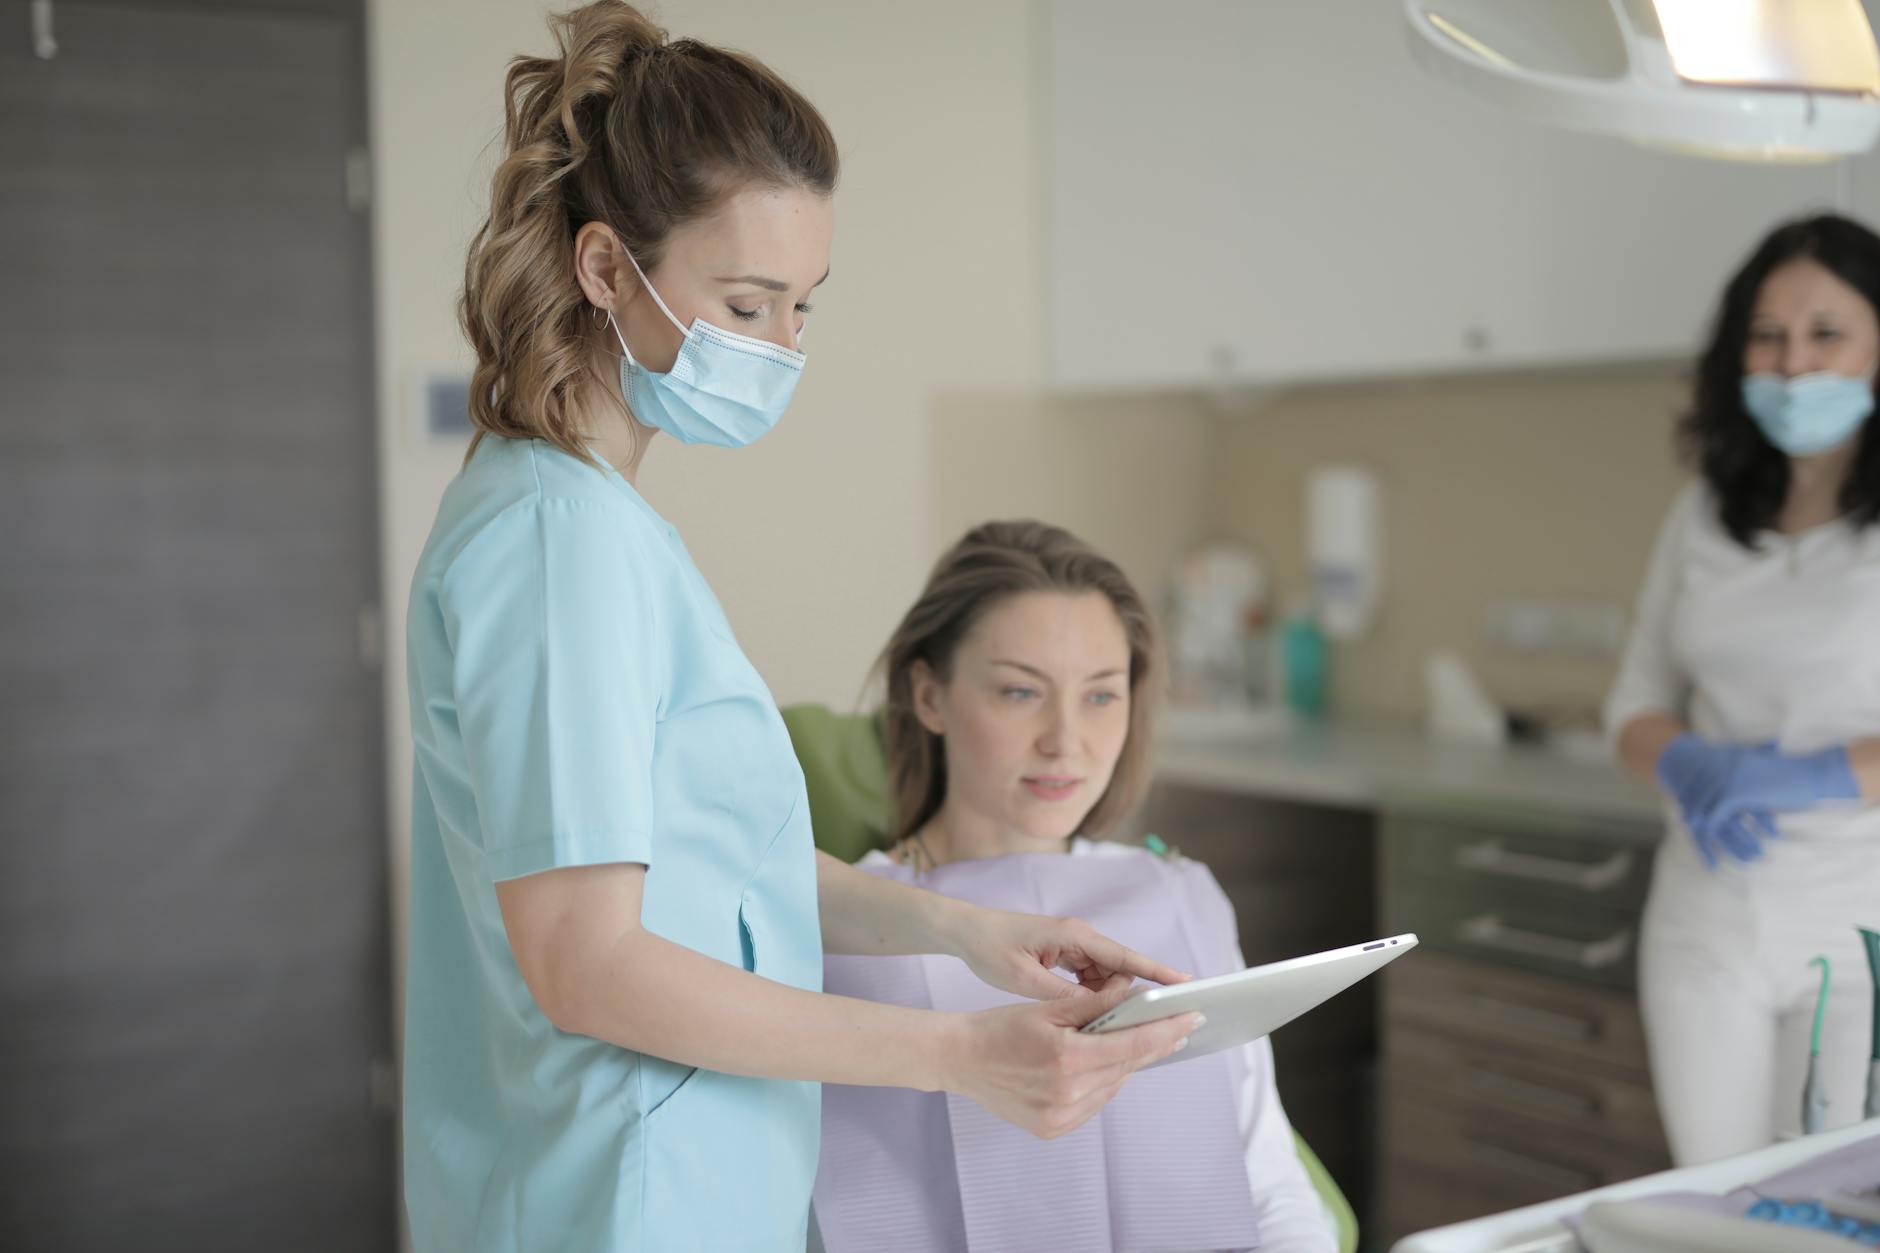
Які біометричні дані збираються для прийому
Рекомендація: Візьміть з собою дійсний паспорт, повідомлення про прийом та будь-які документи, пов'язані з притулком. Етап біометрії включає десять відбитків пальців, фотографію з високою роздільною здатністю та захоплення цифрового підпису; оператор на місці проведе вас через кожен етап, щоб процес проходив гладко. Бути підготовленим має значення.
Час і збори: реєстрація зазвичай займає 15–30 хвилин, залежно від черги та потреб перекладача. Плата за послугу залежить від місця розташування; найкраще заздалегідь уточнити у оператора та мати готівку або затверджену картку. Запитайте персонал сколько минут обычно занимает обработка, щоб відкалібрувати свій графік.
Якщо відбитки пальців неможливо завершити через зношені подушечки або шкірні захворювання, пропонується альтернативна домовленість; згідно з політикою, ви можете змінити план і продовжити з іншими ідентифікаторами. Найпростіший спосіб – заздалегідь повідомити персонал, щоб уникнути непорозумінь.
Структура процесу узгоджується зі співбесідами, які у вас можуть бути пізніше; біометрія підтримує підтвердження особи, що має значення для результату і є достовірним, коли базується на перевірених даних. Вони оцінюють намір і перевіряють інформацію, яку ви надаєте.
Питання, які ви можете задати, стосуються того, скільки часу займають результати, що відбувається, якщо біометрія не вдається, і як поговорити зі службою підтримки. Щодо термінів, результати можуть зайняти від кількох днів до тижнів, залежно від завантаженості. Якщо вам потрібен альтернативний спосіб зв'язку, зверніться до перекладачів для підтримки чіткої мови. Вони тут, щоб допомогти.
Порада для мандрівників, готових до транзиту: заплануйте додатковий час для навігації чергами та візьміть з собою папку з документами, щоб пришвидшити перевірки. Оплата готівкою допомагає негайній обробці; переконайтеся, що у вас є точна сума, якщо це можливо, щоб мінімізувати затримки.
Підтверджуючі матеріали, які підсилюють довіру: включіть будь-які попередні рішення щодо притулку, нотатки з інтерв'ю, номери справ або листування. Надайте послідовні деталі; це зменшує непорозуміння та підтримує достовірний, вищий шанс на сприятливий результат.
Підсумовуючи, частина біометрії є простою: чітке висловлювання наміру, спокійний тон і надання повних підтверджуючих документів підвищує ймовірність сприятливого результату. Дотримуйтесь структури, задавайте питання та узгоджуйте з найкращими доступними інструкціями та політикою оплати.
Документи, які потрібно принести, та як підтвердити особу
Принесіть два посвідчення особи, видані урядом, та документи, пов'язані з візою, щоб довести, що ви маєте право на обслуговування, та пришвидшити доступ для ділових або особистих поїздок. Включіть принаймні одне посвідчення особи з фотографією та документ, що містить ваше повне ім'я та дату народження; візьміть з собою оригінали або завірені копії, як цього вимагають постачальники.
Рекомендовані документи для підготовки:
- Паспорт або національне посвідчення особи (основне посвідчення особи)
- Водійське посвідчення або інше посвідчення особи з фотографією (додаткове посвідчення особи)
- Підтвердження поточної адреси (рахунок за комунальні послуги, виписка з банку, договір оренди або офіційне листування)
- Документи, пов'язані з візою (віза, дозвіл на проживання), якщо це необхідно
- Особисті документи, що підтверджують зміни імені, якщо це необхідно
- Підтвердження планів подорожей (маршрут, підтвердження бронювання готелю), якщо це потрібно
- Інформація, пов'язана з нещасним випадком (контактна особа для екстрених випадків, медичне посвідчення, туристична страховка), якщо це необхідно
Дії для підтвердження особи:
- Перевірте термін дії посвідчень особи; переконайтеся, що імена збігаються в усіх документах і в полі, яке ви заповнюєте.
- Підтвердьте, що всі особи, зазначені в записі, представлені документами, які ви надаєте.
- Використовуйте постачальників послуг перевірки особи для біометричних або документальних перевірок, дотримуючись поточних політик.
- Не передавайте дані більше, ніж потрібно; зверніть увагу, що перевірка кредитної історії не є частиною стандартної перевірки.
- Якщо будь-який документ не написаний латинськими літерами, надайте завірений переклад, щоб уникнути затримок.
- Доступність: зверніться за альтернативними методами перевірки, якщо вам потрібне пристосування (відеоперевірка, великий шрифт тощо).
- Зберігайте копії для своїх записів і зазначайте вжиті заходи; ви маєте право на підтвердження кроків перевірки.
- Своєчасно оновлюйте документи після змін; це допомагає залишатися у відповідності та зменшує ризик для ділових та особистих профілів.
Приклад сценарію: польовий агент, який подорожує у відрядження, має дійсний паспорт, документи, пов'язані з візою, та нещодавній рахунок за комунальні послуги для підтвердження адреси; верифікатор перевіряє інформацію у постачальників і реєструє досягнення в обліковому записі, забезпечуючи безперебійну реєстрацію.
Поради та міркування щодо конфіденційності та доступності:
- Захищайте особисту інформацію; передавайте лише те, що вимагається запитом.
- Політики можуть відрізнятися залежно від постачальника; перегляньте їх перед поданням, щоб знати, що приймається.
- Якщо особу неможливо підтвердити негайно, запитайте про оновлення статусу та терміни наступних кроків.
Як забронювати, перенести або скасувати сеанс
Виберіть найраніший доступний час у формі бронювання, щоб зафіксувати час і отримати негайне схвалення. Це дозволяє уникнути конфліктів і забезпечує вирішення чіткого питання перед продовженням.
Бронювання: підготуйте англійську форму з датою, часом і стислим описом мети. Додайте будь-які необхідні документи у форму та перевірте точність заяви. Після подання оновлення відстеження з'являться на вашій інформаційній панелі та електронною поштою.
Перенесення: скористайтеся опцією «Змінити дату/час», виберіть новий час і підтвердьте. Система залежить від наявності, тому вибирайте альтернативи та очікуйте оновлень. Якщо вам потрібна інформація від інших, повідомте про це заздалегідь, щоб запобігти конфліктам.
Скасування: скасуйте принаймні за 24 години до сеансу, щоб мінімізувати штрафи. У формі буде відображено політику, статус схвалення та заяву про відшкодування. Якщо відшкодування дозволено, обробка залежить від політики та відстежуватиметься в історії вашої форми. Для домовленостей, пов'язаних з подорожами, деталі reisepasses повинні бути готові, якщо це буде потрібно. Це практичний крок, який допомагає вам контролювати питання.
Роз'яснення та мовна підтримка: для багатомовних користувачів терміни tebe та govorish можуть з'являтися в примітках, щоб вказати мовні вподобання; ви можете згадати англійську або іншу мову за потреби. Якщо вам потрібні додаткові роз'яснення, зверніться до служби підтримки та поговоріть зі спеціалістом; це забезпечує найкраще оброблення та задоволення ваших потреб, а джерело інформації відповідає вашим очікуванням.
| Етап | Дія | Примітки |
|---|---|---|
| Бронювання | Відкрийте форму бронювання; виберіть дату/час; заповніть необхідні поля; подайте | Отримайте підтвердження; оновлення з'являються у відстеженні; збережіть копію як довідку |
| Перенесення | Відкрийте форму; виберіть новий час; підтвердьте | Наявність залежить; очікуйте оновлень; включіть альтернативні варіанти |
| Скасування | Відкрийте форму; виберіть скасування; підтвердьте | Застосовується політика; відшкодування залежить від політики; відстежуйте зміни в історії |
Що відбувається під час захоплення біометричних даних і поширені проблеми
Дотримуйтесь цього: впровадьте двоетапний протокол захоплення біометричних даних: отримайте чітку згоду та виконайте негайні перевірки якості перед поданням. Якщо зразок не вдається, запропонуйте повторну спробу протягом 2 спроб, щоб мінімізувати відповідальність і захистити користувачів. Це допомагає забезпечити якість даних і зменшує витрати на подальших етапах.
Під час захоплення платформа направляє осіб для надання відбитків пальців або даних обличчя. Шаблон створюється з живого введення та пов'язується з метаданими (ідентифікатор пристрою, позначка часу). Необроблені зображення можуть бути тимчасово буферизовані, але повинні бути перетворені на шаблони в межах захищеного конвеєра. Типовий час сеансу становить 15-40 секунд, залежно від якості пристрою, освітлення та стійкості користувача. Якщо зустріч перервано, подання можуть не вдатися та вимагати нової спроби. youre able to track progress and retry within the allowed attempts.
Поширені проблеми, з якими стикаються, включають низьке освітлення, відблиски на сенсорних поверхнях і рух користувача, що призводить до часткового захоплення; бруд на датчику, розводи або брудні лінзи; оклюзії обличчя (окуляри, маски) або зношені відбитки пальців; переривання мережі, що спричиняють неповні подання; нещодавно деякі пристрої показують вищий рівень помилок на певних платформах. У рідкісних випадках, случилось that hardware produced corrupted templates, requiring a restart.
Заходи щодо пом'якшення наслідків: забезпечте перевірки калібрування протягом кожної зміни; встановіть вищий поріг якості, щоб зменшити кількість повторних спроб; запропонуйте керовані шляхи повторних спроб і альтернативний спосіб для користувачів, які цього потребують; переконайтеся, що хости та партнери включають доступні інструкції та посилання на відвідування служби підтримки; задокументуйте результати для кожного подання; відстежуйте витрати на подання та обмежте суму, витрачену на сеанс користувача; навчіть користувачів використовувати чисті датчики та освітлення; переконайтеся, що дані залишаються в межах правил конфіденційності; платформа надає детальні журнали для вимірювання успіхів і невдач; youre able to optimize workflows, using best practices to improve effective submissions and overall reliability.


