

Commencez avec de l'eau propre et une base de moût neutre, comme des céréales ou du sucre. Contrôlez la fermentation à 18-24°C pour minimiser les faux goûts ; cette approche est définitivement fiable pour un liquide stable. Grâce à une surveillance constante, vous établissez une base qui peut être affinée en un profil lisse. Gardez le processus rigoureux où les températures restent stables, et assurez-vous que l'équipement reste propre, car là où les impuretés se cachent, la saveur perd le caractère potentiellement brillant. Ne précipitez pas la phase initiale.
Une fois la fermentation terminée, faites passer le moût dans un alambic pour séparer les têtes et les queues, en capturant le cœur par étapes. Le cœur apporte la majeure partie de la saveur tout en évitant les notes âpres. Si vous coupez trop tôt, vous manquez de profondeur ; si vous poussez trop loin, les queues se glissent dans la coupe et ternissent la finale.
Choisissez une méthode de distillation : un alambic à repasse pour un profil plus riche et plus typé, ou une colonne pour un liquide plus propre et de plus haute pureté. Commencez par une coupe de têtes, puis collectez le cœur à environ 78-85 % ABV, et arrêtez avant que les queues ne submergent le profil propre. Cette approche permet d'obtenir une base neutre et enivrante qui peut être diluée à la force d'embouteillage standard d'environ 40 % ABV avec de l'eau propre, puis reposée brièvement pour s'harmoniser.
L'aromatisation est facultative. De nombreux producteurs visent une boisson très propre, tandis que d'autres ajoutent un léger arôme après la distillation. Si vous utilisez un arôme, gardez-le subtil pour que le liquide final reste lisse. Pendant la filtration, le charbon de bois ou d'autres supports peuvent éliminer les impuretés et affiner l'arôme ; certaines méthodes utilisent une brève re-distillation pour affiner les queues ou les arômes. Sans additifs lourds, vous préservez le profil classique. Une note pour le marché : les dégustateurs les plus exigeants comparent souvent au vin en termes de sécheresse et de texture ; la saveur doit rester discrète, pas envahissante. Et n'oubliez pas l'importance des lots.
Dernière étape de qualité : vérifiez la précision de l'ABV, l'arôme et la sensation en bouche, puis embouteillez dans des conditions propres. Ne sautez pas les contrôles sensoriels et stockez le liquide fini dans un environnement frais et sombre pour maintenir la stabilité. Conservez des enregistrements pour chaque lot afin d'itérer le processus, en affinant la cohérence au fil du temps.
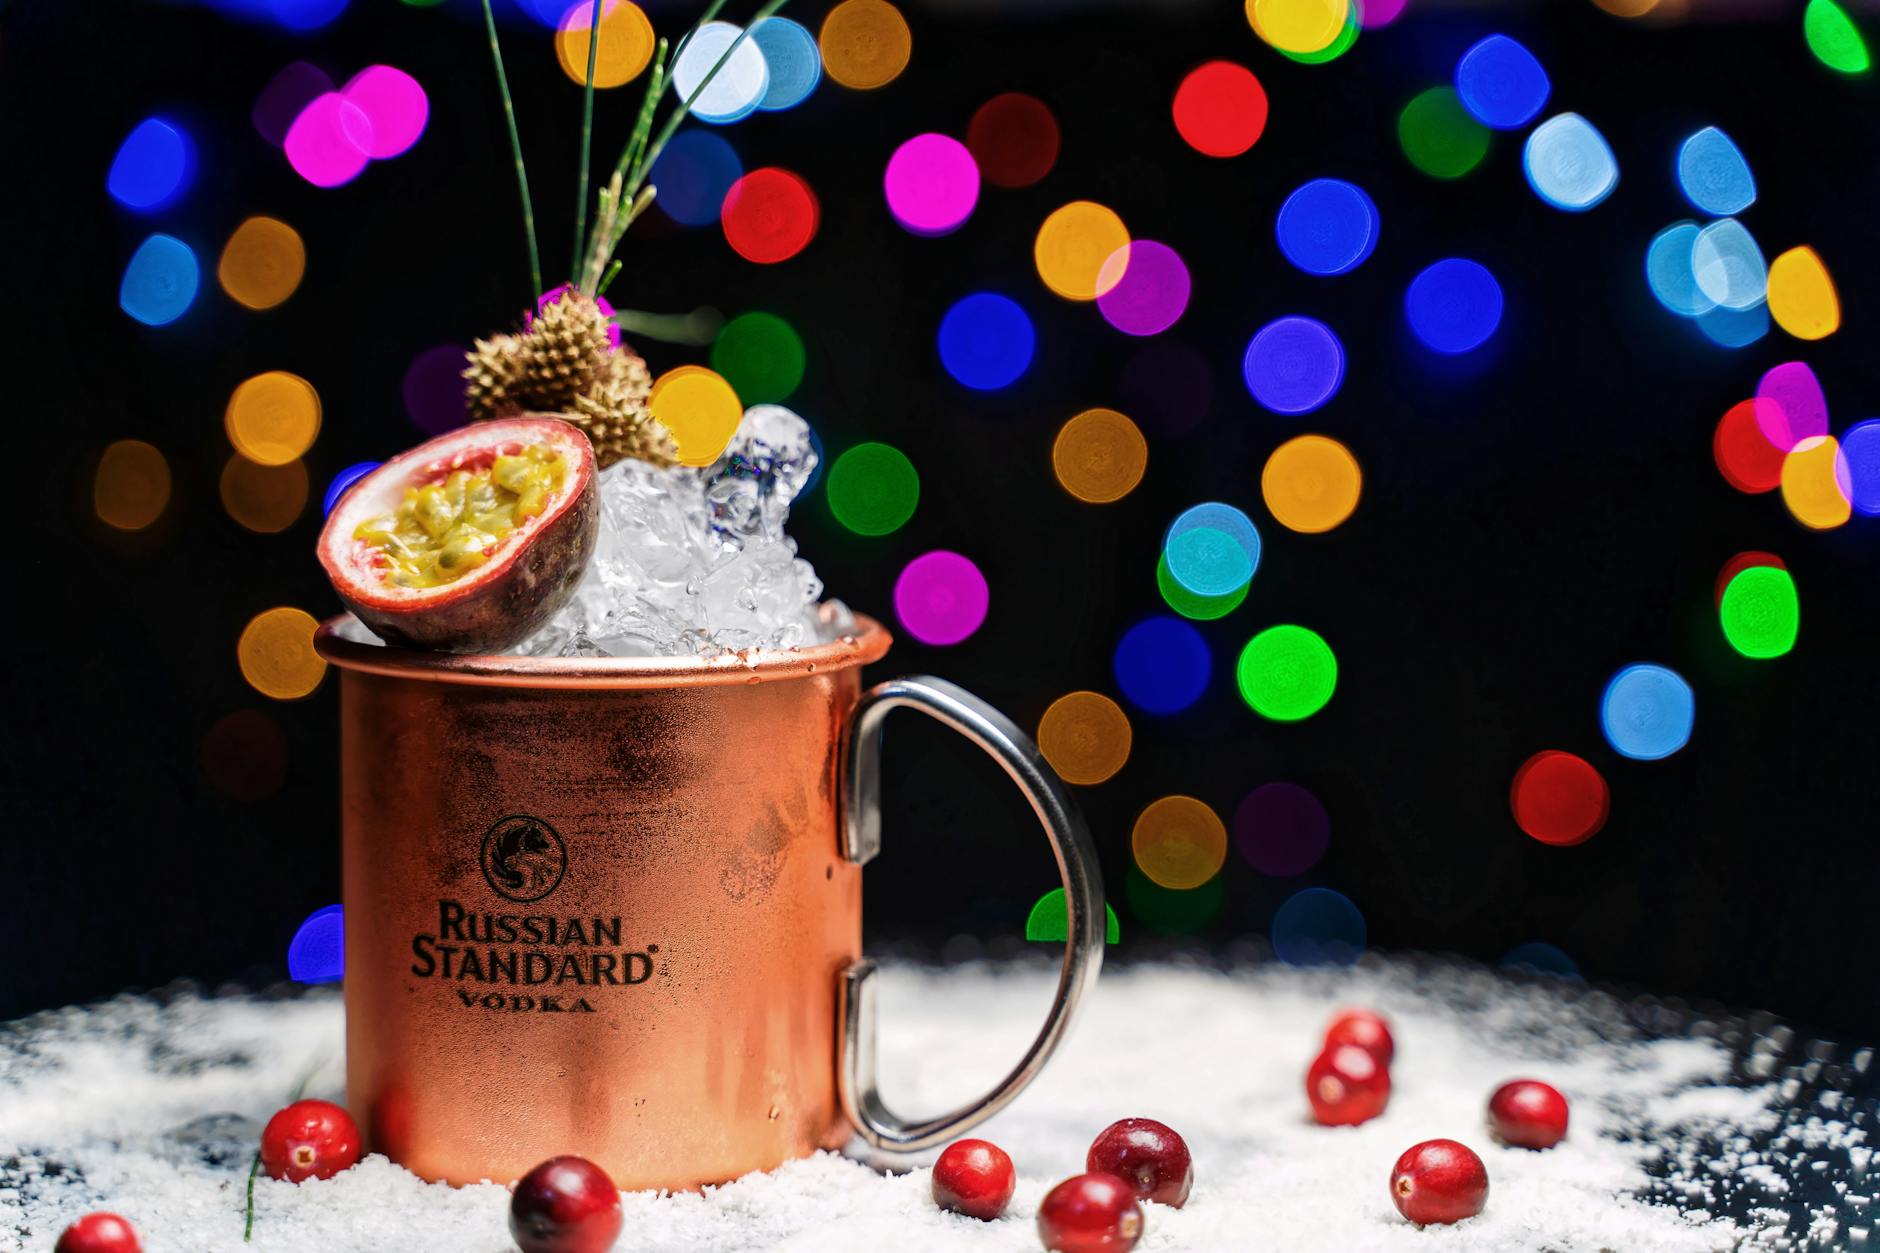
Comment la vodka est fabriquée
Choisissez un moût à base de blé pour produire une base sans saveur. Chauffez initialement le moût à 62-65 °C pour activer les enzymes et convertir les amidons en sucres fermentescibles ; maintenez 60-90 minutes pour un rendement optimal.
Refroidissez à 20-25 °C et ensemencez avec une culture de levure propre. La fermentation dure 2 à 5 jours, créant un liquide avec 6 à 12 % ABV. Au cours de cette étape, les sucres ont été convertis en éthanol, ce qui donne une base alcoolique claire pour la purification ; il y a peu d'arôme à ce stade, ce qui aide à maintenir un profil neutre.
-
Préparation et transfert du moût : broyez le grain à base de blé en une farine grossière, mélangez avec de l'eau dans un rapport pratique et maintenez la température cible suffisamment longtemps pour assurer une saccharification complète. Cette approche courante crée un liquide que les distillateurs peuvent travailler efficacement.
-
Gestion de la fermentation : refroidissez le moût, inoculez avec une souche neutre et surveillez les progrès quotidiens. La fermentation dure généralement 2 à 5 jours ; l'objectif est de maximiser la conversion des sucres tout en minimisant les congénères.
-
Installation de la distillation : transférez le liquide fermenté dans un alambic. Les distillateurs s'appuient sur le contrôle de la température et le reflux pour séparer les têtes, les cœurs et les queues. Pour un résultat propre et optimal, collectez principalement la fraction de cœur et jetez ou retraitez le reste.
-
Redistillation et raffinement : redistillez la portion de cœur pour maximiser la pureté et réduire la douceur résiduelle. Cette étape permet d'obtenir un profil sans saveur qui plaît au public des boissons et favorise une grande popularité dans les mélanges.
-
Filtration et dilution : faites passer le liquide à travers du charbon actif pour éliminer les traces d'impuretés. Le liquide résultant est souvent redistillé ou mélangé pour atteindre 96-98 % ABV avant la dilution. Les distillateurs s'appuient sur cette étape pour assurer une finale nette et propre et une saveur constante.
-
Manipulation finale : diluez jusqu'à la force cible, généralement autour de 40 % ABV, et vérifiez avant l'embouteillage. Il y a peu de marge de variation ici, car la précision de cette étape finale influence directement la clarté et la stabilité de la saveur. Les meilleurs produits présentent un profil lucide, une douceur minimale et une sensation en bouche fiable.
Choisir le grain, l'eau et la levure : la qualité des ingrédients pour un distillat propre
Choisissez une base de grain propre et de l'eau pure : optez pour de l'orge maltée ou du blé tendre, largement disponibles, et filtrez l'eau pour éliminer le chlore et les minéraux. L'union du grain et de l'eau commence à l'étape où la saveur reste contrôlée, produisant un moût sans saveur et une liqueur à dominante de cœur une fois que les têtes sont retirées et que la queue est coupée pour chaque bouteille.
La qualité du grain est importante : traditionnellement, l'orge maltée fournit une base douce et corsée ; le maïs donne une douceur plus légère ; le seigle ou le blé ajoute de la structure sans être envahissant. Pour les bases de style russe, les pommes de terre peuvent être utilisées comme source d'amidon pour obtenir une saveur propre et neutre. Chaque produit doit être décrit comme frais, exempt de moisissures noires et conservé sur l'étagère à l'abri de la chaleur. La forme du produit final bénéficie de l'utilisation de divers grains, mais le malt reste une base fiable pour un profil savoureux et équilibré.
Eau et levure : choisissez une eau sans saveur et disponible auprès d'une source fiable, en vous assurant d'une faible teneur en minéraux ; cela aide la liqueur à rester propre pendant la distillation. Utilisez une souche de levure propre et bien décrite, largement utilisée pour les fermentations neutres, et assurez-vous que la fermentation se termine sans notes parasites. Pendant l'étape de fermentation, la séparation des têtes et des queues doit être gérée, en gardant les cœurs comme noyau. Le résultat est une base fiable qui peut devenir un produit standard et stable en rayon.
Directives pratiques : testez chaque lot avec un panel sensoriel se concentrant sur la coupe des cœurs et la sensation générale en bouche ; suivez les paramètres et la qualité des fournisseurs pour éviter la dérive de la saveur et obtenir des résultats plus cohérents. Stockez correctement les grains, les pommes de terre et le malt pour prolonger la durée de conservation et étiquetez chaque bouteille avec les données du lot afin que l'union des ingrédients reste cohérente d'un produit à l'autre.
Contrôle de la fermentation : température, temps et conversion du sucre
Définissez une cible stable de 28 °C pour les 48 premières heures, avec une tolérance de ±1 °C. Cette condition de base permet une conversion efficace du sucre et minimise la formation d'huile de fusel dans la base fermentée. Utilisez un seul récipient scellé à un pot pour limiter l'exposition à l'oxygène et maintenez la température stable avec une boucle de contrôle dédiée. Vous visez un profil de boisson propre, tout en maintenant un environnement contrôlé autour du processus de fermentation de base.
La conversion du sucre repose sur la transformation des sucres fermentescibles de votre source choisie en éthanol et en CO2 par la levure. Le rendement théorique est d'environ 0,51 g d'éthanol par g de sucre, avec une efficacité pratique généralement comprise entre 75 et 90 % selon la souche de levure et la disponibilité des nutriments. Pour éviter une fermentation bloquée, maintenez la concentration de sucre dans une plage raisonnable et maintenez la fenêtre de température standard tout au long de la phase active. La stratégie d'aromatisation soutient un profil distinctif : pour obtenir une saveur populaire et unifiée, ajoutez un arôme pendant ou après la phase principale en utilisant une source de fruits telle que des notes de vanille ou des extraits de fruits noirs. La vanille fournit une couche chaude et aromatique, tandis que les notes de fruits peuvent être introduites autour de la périphérie de la base, généralement en petites proportions afin que la boisson reste équilibrée. Pour une touche subtile, vous pouvez mélanger une source de fruits légère avec la base, puis filtrer avant les clarifications finales, vers les derniers jours de la fermentation, pour éviter de submerger le caractère de base. Les étapes post-fermentation sont simples : le liquide filtré est décanté, clarifié et préparé pour le vieillissement ou la distillation. Ensuite, vérifiez à nouveau la densité, puis ajustez pour l'épreuve standard et l'équilibre des saveurs. À ce stade, maintenez des températures stables pour éviter la re-fermentation et préserver le profil distinctif et commun que vous avez conçu, juste avant de passer à la prochaine étape de la planification de la production. Recommandation : concevez une colonne haute, doublée de cuivre, avec 12 à 15 plateaux théoriques et un rapport de reflux d'environ 4 à 6:1 pour obtenir un distillat propre. Positionnez l'alimentation au milieu de la colonne pour maximiser la séparation ; assurez-vous que les joints sont sans trous. Le matériau en cuivre lui-même aide à éliminer les composés soufrés, produisant un profil plus lisse et moins terreux. Cette configuration standard est privilégiée par les producteurs basés à Moscou et leurs pairs russes, et ils sont connus pour leur précision dans les points de coupe et leur production constante que vous pouvez ensuite affiner avec une post-rectification. Les points de coupe définissent la forme du profil final. Séparez les têtes (environ 5 à 10 % de la course) des cœurs (le distillat principal) et des queues (la portion finale). Les têtes transportent des composés volatils de type solvant ; les cœurs fournissent le distillat qui forme le profil de base de la boisson ; les queues apportent des matières plus lourdes et des notes terreuses. Plusieurs tests aident à verrouiller la limite ; si vous sentez des notes enivrantes ou détectez une douceur d'érable qui s'infiltre, resserrez les têtes ou coupez les queues en conséquence. Si les raisins ou d'autres fruits sont utilisés comme matière première, les saveurs se déplaceront vers des nuances plus légères et fruitées ; quelques petites caractéristiques peuvent apparaître, mais le but reste un noyau neutre adapté à une boisson utilisée dans des cocktails ou une dégustation pure. Voie de purification : après l'étape de rectification initiale, faites passer le distillat à travers un lit de charbon actif pour éliminer les congénères résiduels. Utilisez du charbon de bois avec une surface élevée ; des temps de contact de quelques dizaines de minutes à des régimes d'écoulement modérés donnent un distillat plus propre tout en préservant le matériau lui-même. Un polissage final par microfiltration ou une deuxième étape de charbon de bois réduit le voile et assure la clarté standard attendue d'un produit haut de gamme et disponible. La filtration au charbon de bois est une étape polyvalente qui aide à adapter les saveurs sans effacer les saveurs sous-jacentes, qu'elles proviennent de céréales, de raisins ou d'autres sources. Carte des saveurs et utilisations : la base détermine la direction de la saveur. Les céréales ont tendance à présenter une base terreuse ; les raisins et les fruits contribuent des notes plus légères et aromatiques ; les résidus d'érable peuvent ajouter une douceur subtile sans submerger le profil. Plusieurs producteurs proposent des gammes distinctes : des étiquettes noires pour l'ultra-neutre et d'autres types explorant un caractère doux. Le distillat produit par cette voie convient aux boissons pures, aux cocktails et à un large éventail d'utilisations ; vous pouvez ensuite choisir le niveau de raffinement qui correspond à l'histoire de leur marque et aux attentes des clients. Commencez par un lit de charbon actif, passez à un filtre de profondeur, puis à une étape de polissage à froid pour assurer une clarté élevée et un arôme toujours plus vif. Cette approche donne une boisson finie avec une bien meilleure stabilité en rayon et des résultats courants et reproductibles. Elle aide également à éliminer les têtes et autres notes parasites qui se forment pendant la manipulation, assurant une boisson propre du début à la mise en rayon. Spécificités du charbon actif : utilisez du charbon actif granulaire avec une surface d'environ 800-1000 m2/g et une structure de pores principalement dans la plage de 0,8-2 nm. Visez 3-7 minutes de contact et maintenez la température à 0-4 °C. Maintenez une profondeur de lit d'environ 0,5-1,5 mètre et assurez un débit uniforme pour éviter la canalisation. Cette configuration réduit les composés soufrés, les phénols et les précurseurs de couleur qui altèrent autrement la forme finie. Séquence des supports filtrants : après le charbon de bois, alimentez à travers un support de profondeur tel que de la terre de diatomées ou des coussinets de cellulose pour éliminer les fines particules. Un dosage de DE de 5-20 g/L avec une épaisseur de gâteau de 0,5-2 cm fonctionne bien ; maintenez le débit à 0,5-2 L/min par m2 et la température à 2-6 °C. Cette étape aide à former une union stable de clarté et de luminosité, réduisant le voile qui peut apparaître dans des ingrédients comme les raisins ou les pommes et améliorant ainsi les résultats pour la boisson. Polissage et polissage final : une membrane fine (0,45-0,8 µm) ou un coussinet de polissage complète la forme, donnant un aspect brillant et cristallin. Maintenez 0-5 °C pour préserver le profil aromatique et éviter une élimination excessive des esters légers. Le caractère alcoolique reste intact tandis que la turbidité diminue, offrant une boisson prête pour les prochaines étapes de la production et du stockage, avec une finale calme et propre qui favorise une longue durée de conservation et une buvabilité constante. Les intrants bruts tels que l'herbe, les raisins ou les pommes peuvent transporter des sucres et des pigments qui forment un voile ou une couleur s'ils ne sont pas filtrés. La filtration élimine ces traces, permettant un équilibre unifié entre l'arôme et la neutralité. En pratique, les résultats montrent une clarté améliorée, une saveur plus stable et un profil fiable d'un lot à l'autre, ce qui rend la finale adaptée à une gamme unifiée de marchés et de préférences des consommateurs. Commencez la dilution immédiatement après que la liqueur finie se soit reposée et clarifiée. Visez une base de 40 % ABV, avec de la place pour ajuster aux goûts locaux. Ajoutez de l'eau propre par petites incréments, en remuant doucement après chaque ajout pour éviter l'incorporation d'air. Vérifiez l'épreuve avec un alcoomètre et arrêtez lorsque la lecture correspond au niveau prévu. Gardez l'opération rigoureuse et disciplinée, avec plusieurs contrôles en place, aidant à assurer que le lot reste cohérent et prêt pour l'embouteillage. Les décisions de rectification doivent être conservatrices : ajustez seulement de petites fractions pour préserver la saveur. Les résultats les plus fiables proviennent d'une coupe de cœur claire, gardant les têtes et les queues hors de la liqueur finie. Les évaporations à la surface doivent être minimisées par le contrôle de la température et un joint étanche dans le récipient. Si des sucres persistent du moût, le distillateur peut décider de re-mélanger pour éviter un pic de douceur ; plusieurs fabricants commencent avec une base neutre et adaptent la finale pour obtenir un profil distinctif qui satisfait différents marchés. Une fois la dilution confirmée, commencez le remplissage des bouteilles sur une ligne propre et dédiée. Utilisez des bouteilles et des fermetures désinfectées ; assurez-vous que la hauteur de remplissage est constante et évitez d'aspirer des têtes ou des queues dans la bouteille. Laissez un espace de tête modeste pour tenir compte d'une expansion mineure et placez chaque bouteille sur la ligne vers l'étiquetage. Une fois bouchée, appliquez un couple uniforme sur le bouchon et vérifiez l'intégrité du joint. Étiquetez avec le numéro de lot, la date et l'ABV. L'assurance qualité confirme que la liqueur finie répond aux spécifications : ABV, clarté et arôme alignés sur le profil distinctif. Effectuez des contrôles finaux pour le joint, la cohérence du remplissage et la précision de l'étiquette. Si un écart est détecté, revenez au plan de rectification pour ajuster la dilution et relancer le lot au besoin. Cette approche aide à obtenir la meilleure bouteille possible, complète depuis le début de l'opération.Distillation et rectification : conception de la colonne, points de coupe et voie de purification
Filtration et polissage : charbon actif, supports filtrants et clarté
Type de support
Rôle principal
Paramètres typiques
Charbon actif (granulaire)
Éliminer les composés volatils, la couleur et les arômes de soufre
Profondeur du lit : 0,5-1,5 m ; temps de contact : 3-7 min ; température : 0-4 °C ; taille des pores : ~0,8-2 nm ; débit : modéré
Support de profondeur (terre de diatomées ou cellulose)
Capturer les fines particules ; contrôle du voile
Dosage de DE : 5-20 g/L ; épaisseur du gâteau : 0,5-2 cm ; débit : 0,5-2 L/min/m2 ; température : 2-6 °C
Filtre/membrane de polissage (0,45-0,8 µm)
Clarté finale ; micro-filtration
Débit : 0,5-1 L/min/m2 ; température : 0-5 °C
Étape finale : dilution, épreuve, embouteillage et assurance qualité


