

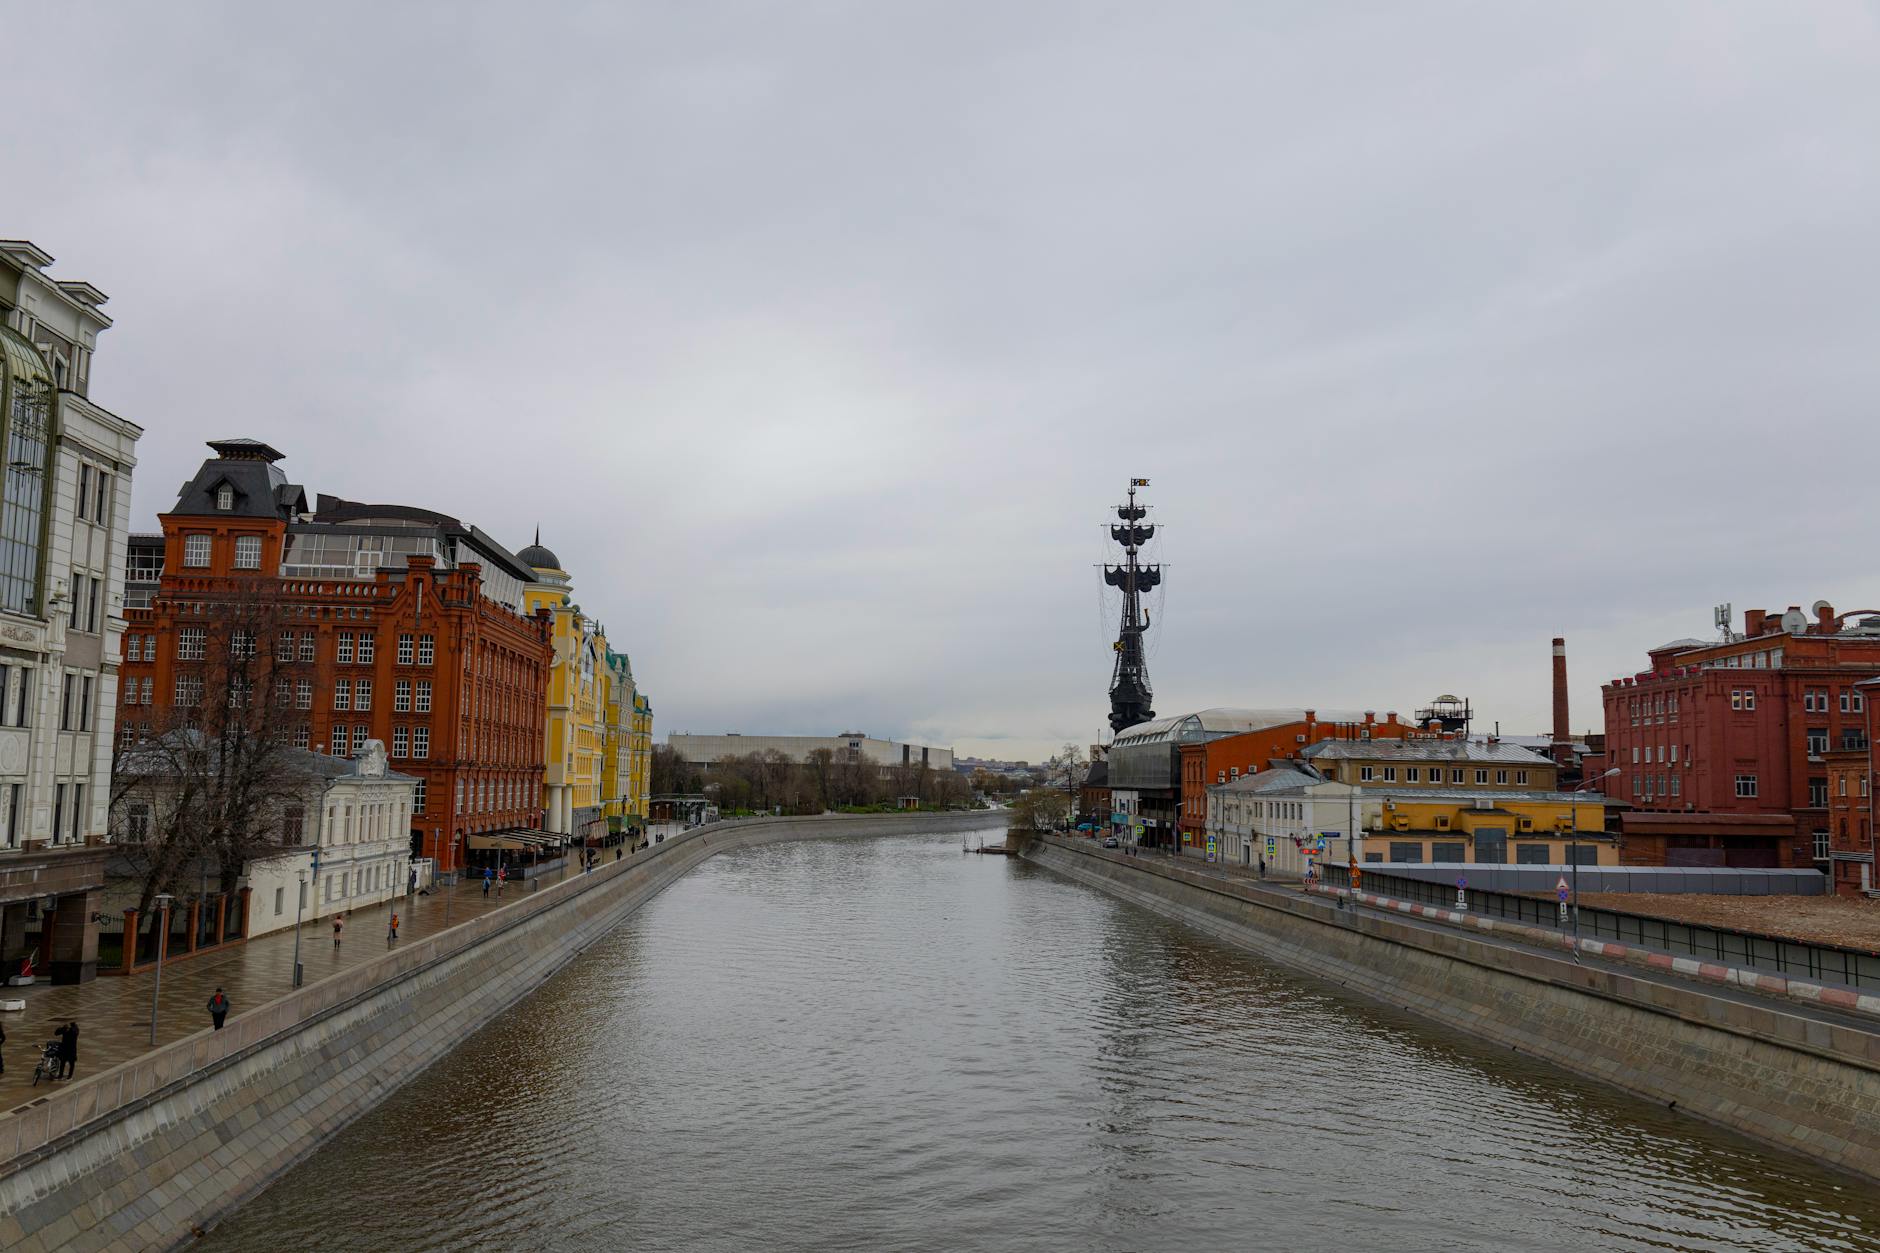
Почніть у січні з ранньої вечірньої прогулянки вздовж берегів річки, щоб зловити перші відблиски вогнів на тлі залізного силуету. Для найкращих результатів вирушайте до мосту, де над головою пливуть хмари, а міські відображення стають мідними.
Каси відкриваються перед сутінками; забронюйте доступ поблизу улюбленої точки огляду безпосередньо перед тим, як натовп збільшиться. Прибудьте рано, щоб зайняти міцне місце біля оглядового майданчика, а потім перейдіть на вищу точку навколо острова для ширшого кадру. Як тільки натовп збільшиться, точки огляду змістяться, а відблиски світла розмиються.
Під час прогулянки спостерігайте, як вогні розквітають, а частинки тягнуться в нічному повітрі; довгі витримки можуть дати привидів у формі кальмарів, що дрейфують вище, особливо коли хмари згущуються.
Паризьким мандрівникам слід досліджувати мости, дотримуватися місцевих знаків, щоб не заважати людям, і прямувати до лавок на набережній; пішохідні ділянки забезпечують кращий огляд. Квитки слід зберігати в безпечному місці, а акценти camoëns натякають на сезонні зміни кольорів.
Час початку змінюється; на початку вечора січневі нотатки свідчать про те, що спокійний ритм виникає, коли натовп рідшає, дозволяючи мандрівникам обережно поводитися з речами. Для планів подорожей поєднайте прогулянку з теплим напоєм у сусідньому кафе, а потім відновіть дослідження на світанку або після того, як хмари розійдуться у весняному повітрі.
Практичні поради щодо перегляду, фотографування та розуміння нічного освітлення в Парижі
Візьміть із собою міцний штатив, швидкий ширококутний об'єктив і дистанційний затвор, щоб стабілізувати довгі витримки та мінімізувати шум.
- Найкращі точки огляду включають тераси на набережній і підняті вулиці, які обрамляють освітлений пам'ятник як фокусну точку; прибудьте до 20:00, щоб зайняти місце та спостерігати, як посилюється сяйво.
- Шукайте видимі відображення на воді та у вітринах магазинів; злегка поверніться, щоб зловити мерехтливе золото та прохолодні сині кольори, не розмиваючи світлі ділянки.
- Настання темряви призводить до драматичних змін кольорів; заплануйте 15-25-хвилинне вікно після появи перших зірок, щоб зафіксувати тонкі градації в небі та фасадах.
Спорядження та налаштування
- Встановіть формат RAW; тримайте ISO 100-400, діафрагму близько f/2.8-f/4 для широких сцен; експериментуйте з f/5.6 для глибшої деталізації вулиць.
- Використовуйте об'єктив 14-24 мм для широких панорам; перейдіть на 24-70 мм для архітектурних сегментів, які включають відображення у воді; 70-200 мм ізолює проблемні зони або яскраві вивіски.
- Ручне фокусування через live view; збільште масштаб для деталей переднього плану, щоб забезпечити чіткість, незважаючи на слабке освітлення.
- Брекетинг експозиції (наприклад, -1, 0, +1 стоп) дозволяє змішувати текстури; це допомагає в областях із сильним контрастом яскравості.
- Візьміть запасні акумулятори та карти пам'яті; холодні місяці скорочують час роботи акумулятора, тому плануйте додаткові сесії.
Вологість і догляд
- Вологість об'єктива є звичайною; тримайте під рукою тканину з мікрофібри та використовуйте обігрівач роси під час тривалих зйомок у вологому повітрі.
- Захищайте електроніку від раптового дощу; оберніть спорядження легкою тканиною під час переміщення між точками огляду.
- Негайно витріть передній елемент, якщо з'являться плями від води; волога на склі зменшує контрастність і створює ореоли навколо джерел світла.
Поведінка світла та композиція
- Зафіксуйте золоте сяйво на фасадах, злегка затримавши спуск затвора після синьої години; цей баланс дає більш насичений колір, ніж чистий неон.
- Обрамляйте лінії води, вуличні ліхтарі та силуети, щоб розповісти про нічний ритм міста.
- Включіть впізнаваний пам'ятник як міцний якір, але дозвольте навколишнім вулицям і річці створити природний шлях через кадр.
Поради для мандрівників і відмінності в часі
- Святкові натовпи можуть перетворити набережну на соціальну арену; заплануйте дві сесії в різні дні, щоб порівняти кути та поведінку світла.
- Зі Швеції, Австралії та Нової Зеландії скоригуйте очікування щодо тривалості нічних годин; ранній від'їзд дає спокійніші сцени та більше місця для встановлення.
- Перевіряйте прогнози погоди на вологість і вітер; висока вологість знижує чіткість, а спокійне повітря дає чіткіші відображення вогнів.
- Майте на увазі, що деякі точки огляду відомі своїми захопливими панорамами, але вимагають терпіння, оскільки збираються натовпи; будьте готові почекати чистого кадру.
- Прагніть до послідовності: тримайте голову на рівні, уникайте спотворень і забезпечуйте прямі лінії вздовж вулиць на набережній; ви прагнете до професійного вигляду, а не до поспішного знімка.
Практичний план для розуміння сцени
- Вивчіть, як світло огортає камінь і метал; колірні температури змінюються залежно від дизайну лампи та сусідніх вивісок, створюючи царську золоту ауру нарешті.
- Перегляньте свої знімки наступного дня; порівняйте баланс кольорів і чіткість і внесіть корективи на майбутні дні.
- Як фотограф, експериментуйте з довгими витримками, щоб виявити зіркоподібні точки або сліди руху на човнах і пішоходах; світи деталей з'являються з терпінням.
- Не забувайте поважати територію; не перегороджуйте шляхи чи входи; перейдіть у безпечне місце, якщо натовп звужує простір, у якому ви повинні працювати.
Нотатки для допитливих відвідувачів і ентузіастів
- Інтереси астрофотографів можуть бути задоволені тут, коли небо чисте, а вологість низька; ночі біля річки пропонують високі шанси побачити сліди зірок над міськими силуетами.
- Обов'язково прибудьте з планом, оскільки найкращі кути змінюються залежно від руху натовпу та сезонного освітлення; ви можете знайти захопливий вид, який ще мить тому був недоступним.
- Якщо ви чули про відому точку огляду, перевірте час доступу та погоду, оскільки можуть статися зміни в останню хвилину; цей відділ рекомендує перевіряти місцеві оновлення перед виходом.
- Відблиски, схожі на пляжні, на воді можуть з'явитися після тривалих витримок; залиште місце для руху в кадрі, щоб уникнути переповнених композицій.
- Люди, які відвідують з Нової Зеландії, Швеції чи Австралії, часто зауважують, як тон змінюється протягом днів; використовуйте це спостереження, щоб спланувати другу сесію та порівняти результати.
Коли вмикаються вогні вежі та як довго вони залишаються видимими протягом ночі
Вогні вмикаються в сутінках і залишаються видимими приблизно до 01:00, а в літні ночі тривають приблизно до 02:00, коли небо чисте. Пізньої осені та взимку очікуйте більш раннього закінчення близько 01:00, оскільки натовп рідшає; плануйте бути на місці приблизно в цивільних сутінках для найкращих результатів.
Що знімати: біолюмінесцентне сяйво на металевій решітці, відображення на човнах і хвилях; вибір місця розташування вздовж берегів річки пропонує сильні лінії, а місця біля району Сен-Жермен забезпечують відкриті лінії огляду через воду. Фотограф повинен мати об'єктив 24-70 мм, штатив і пульт дистанційного керування; рання синя година забезпечує м'якіші тіні, перш ніж домінує сяйво; сяйво виникає від світлодіодів, атоми яких контролюють баланс кольорів; вони працюють у тандемі з погодою та водою, щоб створити чудову танцюючу поверхню. Нотатки traveltriangle допомагають порівняти знімки з внутрішніх маршрутів і північних напрямків, щоб зафіксувати варіації якості світла; міські вогні, схожі на Тояму, додають контрасту в деяких кадрах, а круїзи пропонують рухомі текстури.
Місця розташування по всьому світу впливають на естетику світла; те, що ви дізнаєтесь тут, переноситься на інші місця та моменти. Для мандрівників зі Швеції або північних подорожей ви можете помітити сяйво, схоже на північне сяйво, яке іноді відбивається на воді; такі порівняння допомагають складати майбутні маршрути та розвідувати місцевість пішохідними маршрутами вздовж берегової лінії. Чули розповіді від попутників про вечірні світлові шоу; їхні враження підтверджують, що ретельний вибір часу дає чудові результати на внутрішніх маршрутах і міжнародних круїзах.
Найкращі точки огляду для зйомки ілюмінації Ейфелевої вежі з мінімальним натовпом
Починаючи з тераси біля мосту біля річки, прибудьте близько 20:00, щоб натовп був мінімальним.
Найкращий варіант: тераса на вищій стороні Трокадеро пропонує широкий передній план, захоплюючи весь силует на тлі неба; прибудьте о 21:00-21:15 для чіткого вирівнювання.
З мосту Олександра III обрамлення вздовж берега річки дає ближчі лінії; як тільки натовп зменшиться після 22:00, вони розійдуться, ви можете знімати між сяйвом річки та лампами мосту.
Найближчі острови пропонують різні фони; між островом і набережною крихітні, відомі місця дають найкращі кути, поки пливуть хмари та сходить місяць.
Поради щодо планування подорожі: ваш графік має відповідати проміжкам у розташуванні, оскільки вони виникають між точками огляду; починаючи з однієї, перехід до наступної охоплюватиме як міське сяйво, так і темніші межі.
Примітка про подорож: настрій Мальдівів убік, прибережні вітри впливають на експозицію; швидко регулюйте ISO та витримку між знімками; фон залишається чистим.
Якщо пам'ять була сформована поїздками в Манаскван або Нову Зеландію, калібрування кольорів у фонових тонах можна точно налаштувати сяйвом північного сяйва при тривалій експозиції.
| Місцезнаходження | Найкращий час | Рівень натовпу | Примітки |
|---|---|---|---|
| Тераса Трокадеро | 21:00-21:15 | низький | найширший передній план; місяць, хмари забезпечують додаткові фони |
| Міст Олександра III | 20:30-21:00 | середній | ближче обрамлення; відображення у воді покращує настрій |
| Берег Сени біля краю острова | 21:30-22:00 | середній | різна глибина фону; перейдіть на довшу експозицію |
| Тераса Марсового поля | 20:45-21:30 | низький | дозволені довгі витримки; спокійніша атмосфера після 21:45 |
Фотоапаратура та налаштування нічної зйомки для чіткого відтворення сяйва вежі
Міцний штатив, дистанційний спуск і RAW у ручному режимі забезпечують чітке сяйво при тривалій експозиції. Повнокадровий корпус або здатний сенсор APS-C обробляє тіні з меншим шумом; поєднайте з зумом 24-70 мм f/2.8 або фіксованим об'єктивом 35 мм, щоб охопити кадрування від широкого до вузького. Обидва налаштування зберігають деталі в прожекторах, уникаючи обрізання.
Налаштування та техніка:
- Встановіть базове ISO 100-400; витримка 2-6 с; діафрагма f/4-f/8; WB 3600-4000K; перейдіть у ручний режим фокусування через live view, збільшений до 100%, і зафіксуйте його.
- Увімкніть брекетинг експозиції (3 знімки: -1, 0, +1), щоб зафіксувати тональну криву; або зробіть одну довгу експозицію, якщо небо залишається спокійним.
- Використовуйте опцію безшумного затвора, якщо вона доступна, щоб зменшити вібрацію; інакше переконайтеся, що штатив міцний, а вітер мінімальний.
Контрольний список спорядження:
- Корпус камери: повнокадровий або потужний сенсор APS-C
- Об'єктиви: 24-70 мм f/2.8 або фіксований об'єктив 35 мм
- Штатив: вуглецеве волокно або міцний метал
- Дистанційний затвор або інтервалометр
- Запасний акумулятор і карти пам'яті
- Бленда та захист від атмосферних впливів
- Червоний налобний ліхтар і тканина з мікрофібри
- Доступ до столу: поставте на стіл або лавку для стабілізації, якщо штатив не можна використовувати
- Сумка, придатна для каяка, і сухий мішок для круїзів по калюжах; забезпечте безпеку
- Місце для маневру: простір навколо установки для швидкого регулювання
- Компактний набір інструментів для швидкого усунення несправностей на місці
Примітки щодо кадрування та кольору:
WB близько 3600-4000K допомагає зберегти теплі прожектори, а синє небо залишається приємним; довгі витримки виявляють текстуру на решітці та металі. Жовтневі ночі часто пропонують спокійніше повітря; грудневі ночі можуть принести серпанок; січневі ночі залишаються холодними, але небо стає чистим після заходу місяця. Згадка про далекі подорожі, як-от на Мальдіви, може вплинути на баланс кольорів, заохочуючи теплі тони під час пізніх вечірніх знімків. Зміни атмосфери також означають, що атоми розсіюють світло по-різному, що може ледь помітно вплинути на сприйняте сяйво.
Робочий процес і мислення:
Довго шукайте чисте сяйво; нічого не прослизне повз, якщо ви пропустите зміну фокусування. І тіні, і світлі ділянки висвітлюють деталі. Пізніше об'єднайте брекетовані кадри, якщо потрібно; регулювання діафрагми, щоб трохи закрити (діафрагма закривається до f/8), допомагає запобігти розмиттю в яскравих місцях. Перш за все, уникайте переекспонування світлих ділянок, зменшуючи експозицію. Сині акценти можуть виглядати ідеально, коли середні тони залишаються збалансованими. Люблю бачити результати; багато стрільців полюють за чіткими знімками та рекламують цей підхід. Оскільки вам потрібне постійне керівництво, підпишіться на оновлення. Ці вищезазначені вказівки слугуватимуть одному вигляду за іншим. Ці ідеї були почуті багатьма під час польових випробувань і були вдосконалені практикою; оскільки ви практикуєтесь, ви покращитесь. Перегляньте ці нотатки, щоб загострити свій погляд, і прийміть те, що працює понад усе.
Техніки кадрування: відображення, силуети та балансування міських вогнів
Почніть із надійного штатива. Знімайте в сутінках, щоб забезпечити ідеальні відображення на воді або скляних поверхнях; встановіть ISO 100, діафрагму f/8, витримку 8-12 секунд; брекетуйте експозиції, щоб утримати як неонові акценти, так і золоті тони.
Відображення розквітають біля спокійних ділянок біля голови мосту; обрамляйте між лампами та горизонтом; вирівняйте горизонт у нижній третині для симетрії; використовуйте еквівалент 24-35 мм, щоб утримувати передній план і віддалені вогні в полі зору, і стежте за паралельними лініями, які направляють погляд до сяйва посередині.
Силуети з'являються під час експонування для яскравих вивісок; залиште трохи тіней, щоб створити впізнавані форми, такі як пішоходи, човни, арки; розмістіть їх на золотих або синіх фонах; багато силуетів стають сміливими на тлі неонових смуг, іноді повторюючи вуличні ритми, даючи їм місце для дихання.
Балансування міського сяйва з інтересом до переднього плану вимагає хитрощів динамічного діапазону; зніміть послідовність на кілометри набережної; деякі кадри поєднують середні тони та світлі ділянки, а інші підкреслюють тіні; круїзи вздовж неоново освітленої води додають руху; квитки на нічні круїзи дають нові кути. Черпаючи натхнення з вайтомо, новозеландських біолюмінесцентних сцен і печер Спрінгбрук, відкалібруйте сяйво між темними формами та яскравими вивісками; застосуйте цей підхід до головних точок огляду вздовж берега річки або на острові; для планування зверніться до путівників traveltriangle і вивчіть варіанти на відстані кілометрів.
Пояснення північного сяйва: причини, типові місця розташування та чим воно відрізняється від паризької ілюмінації
Плануйте осінньо-зимові поїздки, щоб максимально використати довгі темні ночі та чисте небо для повного відображення північного сяйва. Перевіряйте прогнози сонячної активності та геомагнітні індекси; ці сигнали вказують на те, чи співпрацюють умови. Вибирайте віддалені місця для перегляду подалі від міського сяйва та пройдіть невелику відстань до темного лугу або біля пам'ятника для більш стійких і чітких смуг. Між повільними дрейфами стежте за часом прибуття, щоб зловити найкращий момент.
Причини полягають у потоках сонячного вітру, що несуть заряджені частинки до атмосфери Землі; зіткнення з атмосферними молекулами збуджують атоми, вивільняючи світло хвилями через овальні завіси. Кольори змінюються на зелені, рожеві та фіолетові; зелені походять від кисню на висоті 100-300 км, червоні - від кисню на великій висоті, фіолетові - від азоту, причому ці відтінки змінюються залежно від висоти та щільності.
Місця розташування зосереджені поблизу високих широт, включаючи Швецію, Норвегію, Ісландію, Канаду, Аляску та Гренландію. Путівники traveltriangle допомагають запланувати надійні вікна перегляду. Вересень часто знаменує ранні шанси, а ночі поглиблюються з настанням осені. Прогулянки вздовж пляжів, фіордів і узбережжя дарують незабутні моменти, коли захід сонця переходить у темряву для чудового кадру. Блейклі зазначає практичні речі: тепло одягайтеся шарами, беріть із собою засіб від комарів, коли це необхідно, і тримайте кімнату поблизу для відпочинку після пізніх спостережень.
Порівняно з фіксованим міським сяйвом, природні прояви північного сяйва охоплюють величезні полотна неба та слідують геомагнітним ритмам, а не кураторському графіку. Кольори змінюються залежно від клімату, магнітної активності та прозорості повітря, створюючи приголомшливе, незабутнє видовище. Спостерігачі часто чекають вікна темряви, спостерігаючи за дугами, які проносяться по нічному небу між зірками.
Практичні кроки: зберіть компактну таблицю умов, стежте за оновленнями в останню хвилину та плануйте навколо нового місяця для темнішого неба. Тепло одягніться в кілька шарів, одягніть міцні черевики та візьміть із собою штатив для стабільних нічних знімків. Візьміть із собою камеру з ширококутним об'єктивом і налаштуваннями, налаштованими для тривалих витримок; у пост-обробці зосередьтеся на виявленні кольорів, коли вони змінюються по овальному горизонту. Ці варіанти збільшують шанси на незабутнє, чудове видовище, яке люблять мандрівники, незалежно від того, чи залишаєтеся ви біля пляжів, чи блукаєте між пам'ятниками у вересні у Швеції.

